
How to Estimate River Flow on Ungauged Streams: Methods, Clues, and Calculations
Over 70% of river runs lack a direct streamgage. Learn the Drainage Area Ratio method, visual riverbed markers, and how to correlate nearby gauges.
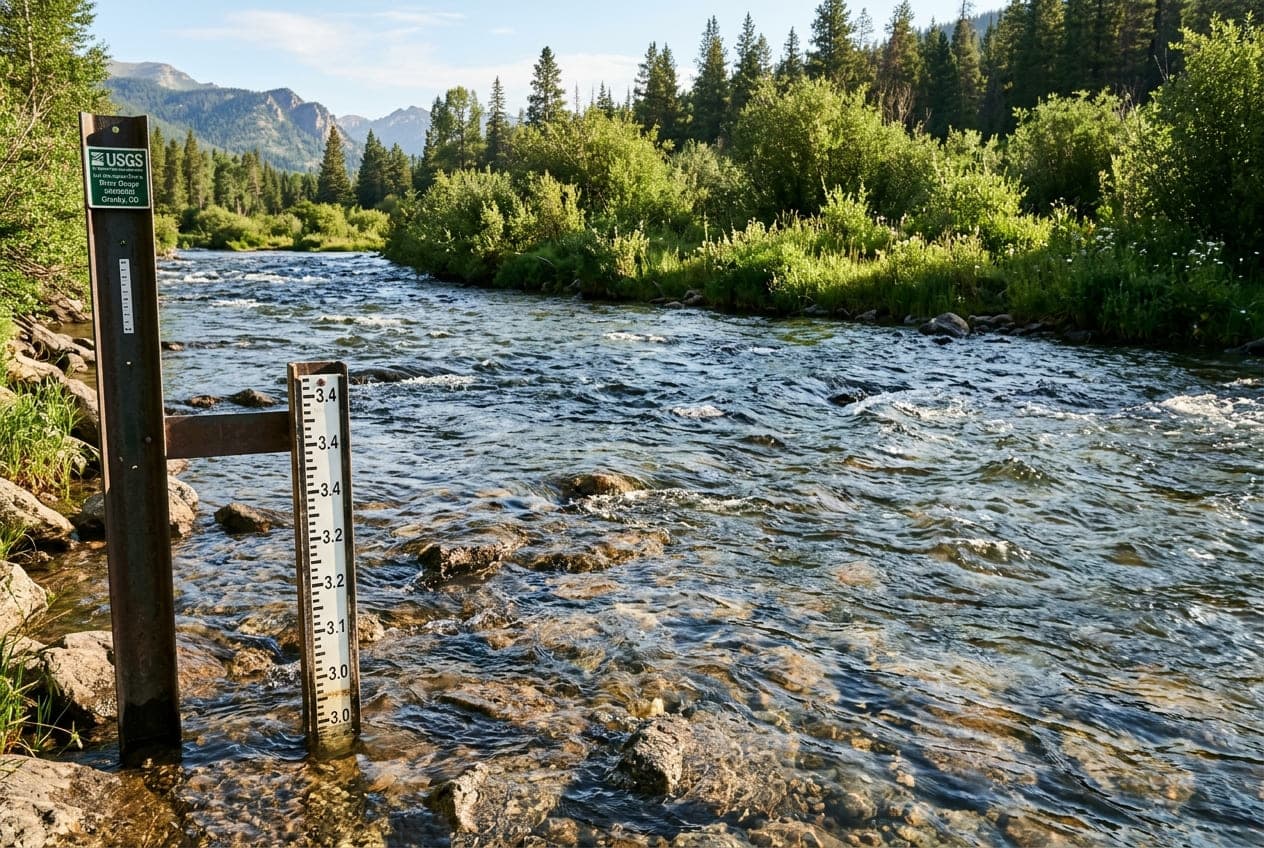
The United States Geological Survey (USGS) operates an extraordinary network of more than 11,000 real-time streamgages across the nation. Yet, despite this massive infrastructure, the vast majority of creeks, backcountry whitewater runs, and tributary trout streams do not have a physical gauge sitting at the put-in.
If you only paddle or fish rivers that have an active gauge, you are missing out on more than 70% of the country's most spectacular waterways.
So how do experienced boaters, anglers, and hydrologists know if an ungauged creek is running too high, too low, or at optimal flow?
By using a combination of hydrological ratio math, visual riverbed clues, and nearby watershed correlation, you can reliably estimate whether an ungauged stream has enough water to run.
Method 1: The Drainage Area Ratio (DAR) Method
The most scientifically robust technique used by hydrologists and whitewater guidebooks is called the Drainage Area Ratio (DAR) method.
The Core Principle
If two river basins are located in the same geographic region, share similar topography, and experience the same rainfall, their streamflow will be roughly proportional to the size of their drainage basins (watershed area in square miles).
The Formula
To estimate the discharge of an ungauged stream (Q_target), find a nearby, hydrologically similar river that has an active USGS gauge (Q_gauge), and apply this formula:
Estimated Flow = Gauged Flow × (Target Watershed Area / Gauged Watershed Area)
A Real-World Example
Suppose you want to kayak "Rapid Creek," an ungauged stream.
- You look up Rapid Creek's watershed area using USGS StreamStats or topographical maps: 40 square miles.
- Ten miles away, "Boulder River" has an active USGS streamgage. Its watershed area at the gauge site is 120 square miles.
- You check ClearGauge and see that Boulder River is currently flowing at 600 CFS.
Now, run the math:
- Drainage Area Ratio: 40 sq mi / 120 sq mi = 0.333 (one-third the size)
- Estimated Target Flow: 600 CFS × 0.333 = 200 CFS
You can reliably estimate that Rapid Creek is running at approximately 200 CFS. If local guidebooks state that Rapid Creek needs 150 to 300 CFS for a good run, you know it is primed and ready to go.
Important Caveats to the Drainage Area Method
While the DAR formula is powerful, you must account for three regional variables before relying on it:
1. Elevation and Rain Shadows
In mountainous terrain, a difference of 2,000 feet in elevation can mean one valley receives 3 inches of rain while the neighboring valley receives 0.5 inches due to a rain shadow. Ensure your reference gauge sits on the same side of the mountain ridge as your target creek.
2. Geology and Soil Permeability
A watershed characterized by porous limestone and karst sinkholes will absorb rainwater into underground aquifers, yielding lower surface runoff. In contrast, an adjacent watershed made of solid granite will shed almost 100% of rainfall directly into the river channel as immediate surface runoff.
3. Upstream Dam Regulations
Never use a dam-controlled tailwater as your reference gauge to calculate flows on a free-flowing freestone creek. Only compare natural, unregulated streams to other natural, unregulated streams.
Method 2: Finding Watershed Sizes with USGS StreamStats
To use the DAR formula, you need to know the drainage area of your target creek.
Fortunately, the USGS provides a free web tool called USGS StreamStats (streamstats.usgs.gov):
- Open the interactive map and zoom into your state.
- Select your watershed.
- Click the exact point on the river where you plan to launch (your put-in).
- The tool automatically traces the topographical watershed boundaries and calculates the exact upstream drainage area in square miles, square kilometers, and acres.
Method 3: Visual On-Site River Clues
When you pull your vehicle up to an ungauged bridge or river access point, experienced eyes can "read the riverbed" to determine if the water is rising, dropping, or too low:
1. The "Clean Rock" vs. "Moss Line"
Look at boulders sitting partially out of the current:
- Dark, Slippery Moss / Algae: Marks the normal, long-term baseflow of the river.
- Bleached, Clean, White Rock: Indicates that the rock was submerged during recent high water and has recently dried in the sun.
- Submerged Green Moss: If bright green terrestrial grass or dry moss is completely underwater, the river is currently high or rising.
2. Gravel Bar Exposure
Look across the river at the inside of the nearest river bend:
- If the gravel bar is completely exposed with dry sand and stones stretching deep into the channel, the river is likely at low baseflow.
- If water is cutting across the gravel bar or side-channels are actively flowing, the river is in prime or high flow.
3. Bridge Pier Stains and Driftwood Lines
Examine the concrete supports of the access bridge:
- Waterlines on concrete leave distinct silt and mineral rings showing where the peak flow crested.
- Look for fresh pine needles, dried leaves, and sticks caught in tree branches overhanging the water. If fresh organic debris is hanging 3 feet above the current water surface, the river crested recently and is on the dropping limb of the hydrograph.
Method 4: Visual Staff Gauges and Bridge Markers
Many whitewater paddling clubs, conservation groups, and local liveries paint custom visual gauges on bridge abutments or river rocks.
These are often referenced in local guidebooks (e.g., "If the water is over the red line on the highway bridge pier, the canyon is running Class IV"):
- Bridge Staff Gauges: Look on the downstream side of concrete bridge piers for an enamel measuring stick marked in tenths of feet.
- Rock Markers: Local boaters often paint a simple horizontal line or numeric gauge on a prominent landmark rock at the take-out or put-in.
Step-by-Step Checklist for Ungauged Rivers
- Identify the Nearest Gauged Creek: Find an active, unregulated USGS streamgage on the same mountain range or county.
- Calculate the Area Ratio: Use StreamStats to find both watershed sizes and multiply the gauged CFS by the area ratio.
- Check the Hydrograph Trend: Look at ClearGauge to see if the reference river is rising, peaking, or falling. If the reference river spiked 6 hours ago, your smaller tributary creek likely peaked 3 to 4 hours ago and is dropping fast.
- Visually Verify at the Put-In: Check bridge pilings and gravel bars for water clarity, floating debris, and moss lines before putting your boat in the water.
- Always Have a Backup Plan: If you arrive at an ungauged creek and the water is muddy, brown, and surging into shoreline bushes, exercise caution and head to a wider, safer run nearby.
Conclusion
You do not need an official government streamgage on every mile of water to plan a successful trip. By combining the Drainage Area Ratio method with sharp on-site observation, you can unlock hundreds of backcountry streams with confidence.
Start by monitoring the gauged rivers in your region on our interactive rivers map to understand how local weather translates into real streamflow today!
Want to see this in action? Check real-time river conditions near you.
Explore All Rivers →